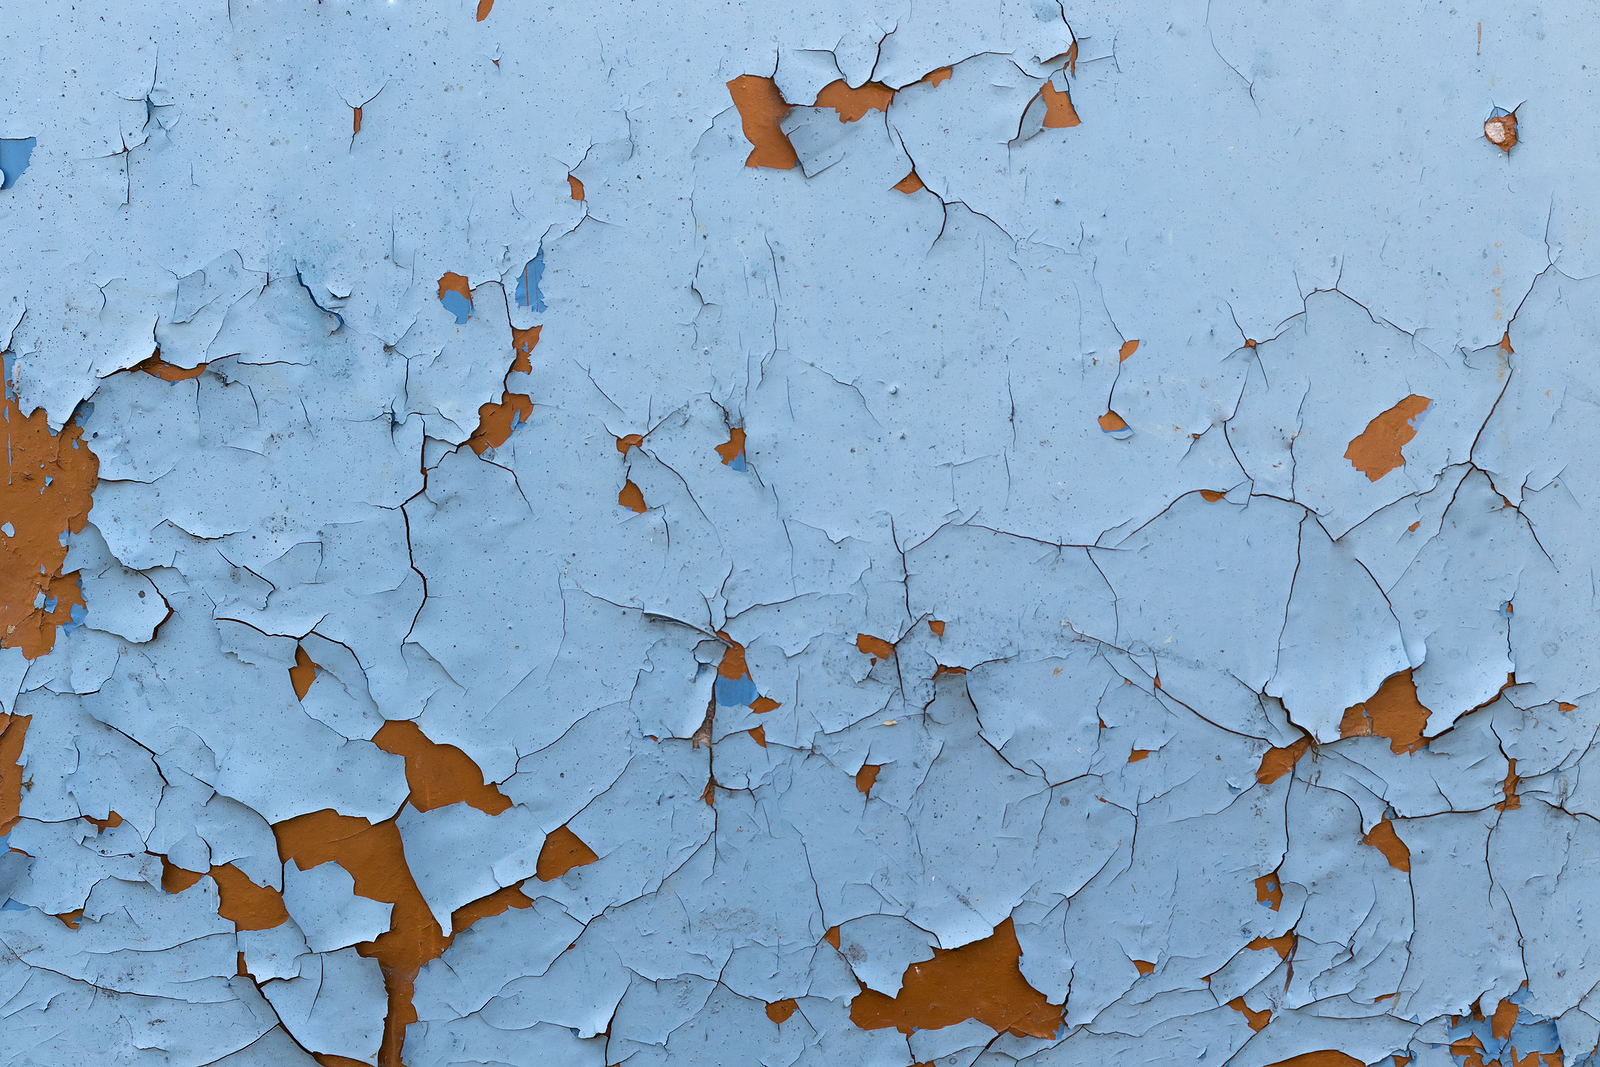
6 Step Guide to Repair Chipping Paint
When trim, walls, and woodwork have several layers of old paint
on them, they are more prone to chipping and peeling. And with so many layers,
old paint doesn’t just chip, it leaves behind craters and pock marks. To repair
such blemishes, you need more than just a paint brush and a few minutes of time
for touch ups. But that doesn’t mean that you need to strip down walls, sand
them smooth, and start over entirely with fresh paint.
By using the right process, you will save time and ensure
that your results are even, unblemished, and long-lasting. Continue reading for
a simple 6-step guide to fixing chipped paint.
What You Need to Fix Chipping Wall Paint
When shopping for supplies, be sure to buy the proper
spackling compound. You can get spackle for drywall or for wood. Ask a store
attendant to point you in the right direction. Also purchase the right grip
sandpaper. Too fine won’t be effective or efficient, while too course can be
damaging.
Stick between 120 and 150 grit sandpaper. One or two patches
is all you need unless you have a large-scale project. As for the rest of your
supplies, you will need them to first level out the surface surrounding the
chip and fill it back in without any visible seams.
Here is what you will need to fix chipped wall paint:
- 120 – 150 Grit Sandpaper
- Putty Knife
- Spackle Compound
- Latex Primer
- Paint Color
- Paint Brush
- Drop Cloth
Instructions for Repairing Chipped Wall Paint
Step 1
Lay down your drop cloths to protect surrounding floors and
furnishings from paint splatter. Then clean the chipped area and the areas
surrounding it with clean warm water and a little dish soap. Allow it to dry
completely before moving forward with the next step.
Step 2
Using your putty knife, scoop out a moderate amount of
spackle compound and smooth it over the chipped area and its outer
perimeters. Be sure to slightly overfill the area (you’ll be sanding it down
later) and use multiple stroke directions to fill in all the nooks and
crevices.
Step 3
Once the spackle is smoothed down adequately, allow it to
dry completely. Depending on the size of the area and the amount of spackle
used, drying times can range anywhere between a few minutes and a few hours.
Generally, smaller projects will dry within 15 to 20 minutes, while larger
patches will take at least an hour.
Step 4
Check to see if the spackle has dried completely. When wet,
spackle resembles a gray-like color, but when dry it is bright white. If it is
dry, you can begin the sanding process. Lightly sand down the spackled area
until the surface is entirely level and smooth.
Step 5
Using a small or medium-sized paint brush, apply a coat of latex
primer on the patch. This will help the paint color blend perfectly into the
surface.
Step 6
Apply just one coat of paint color onto the patch, smoothing
it out until well-blended and even with the rest of the surrounding surface
color.
Are you looking for quality sandpaper for your drywalling
and refinishing needs? Call
Sandpaper America at 1-800-860-SAND sanding
sheets, sanding discs,
and more drywall finishing
abrasives, all at an affordable price. We have what you need for your
sanding or drywall repair project. We offer simple and convenient online
ordering, bulk orders, phone orders, custom orders, and more!
Related Posts:
Tips
for Sanding Down Drywall
What
You Need to Know When Prepping to Sand Drywall
The
Common Kinds of Sanding Paper